
How to order participants from CINT for your RealEye study
- Create a RealEye study and run it to get the participation link.
- Create a new study on your Cint account.
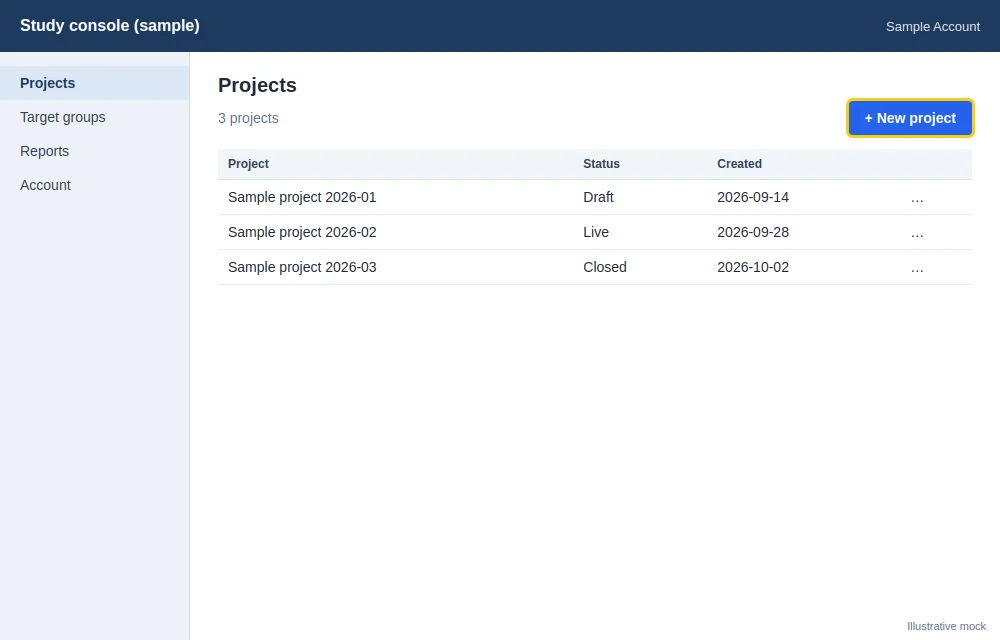
- Set general project settings, like categories and allowed devices.
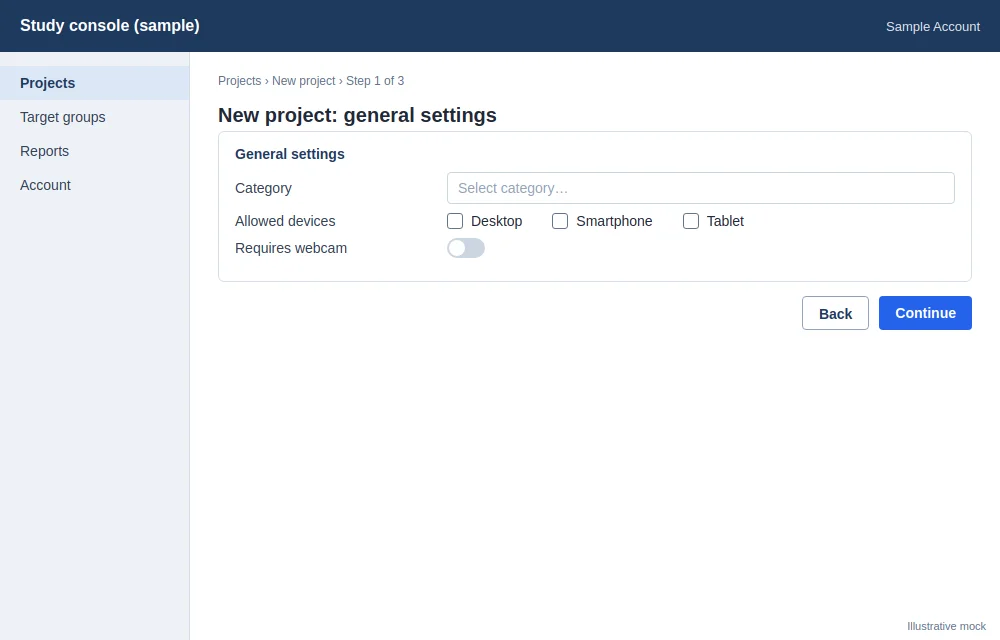
for example:
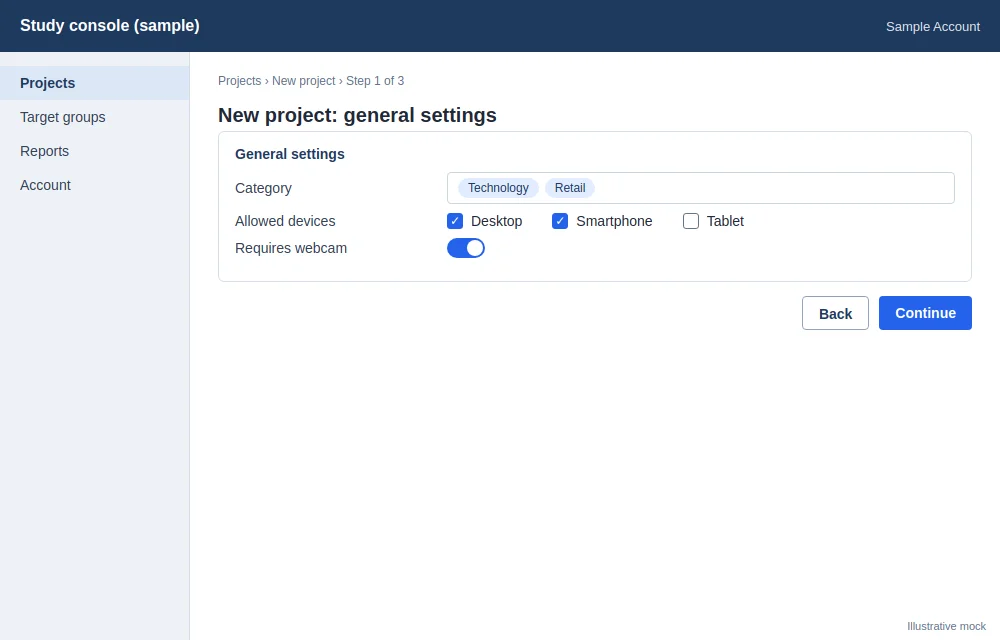
Remember to turn on the “Requires webcam” option for RealEye studies.
-
Click the “Continue” button.
-
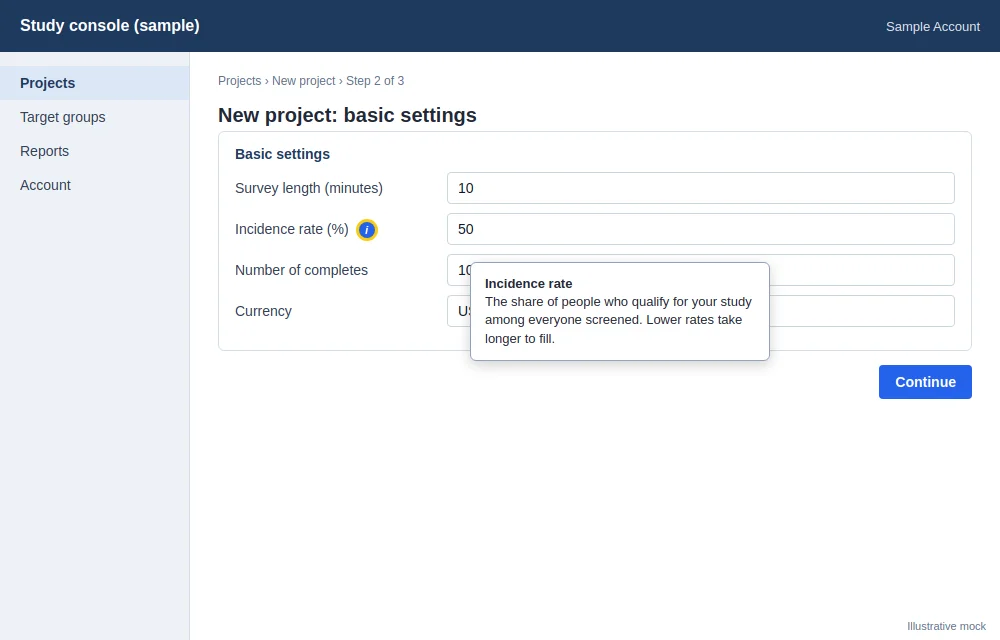
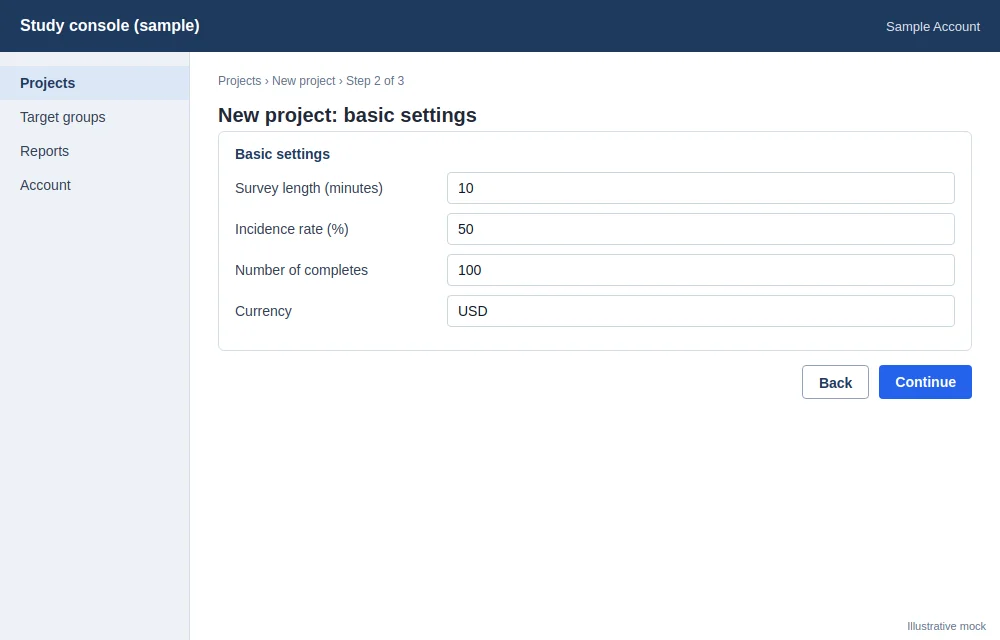
Set up the basic study settings - you can always click the “i” sign to learn more:
-
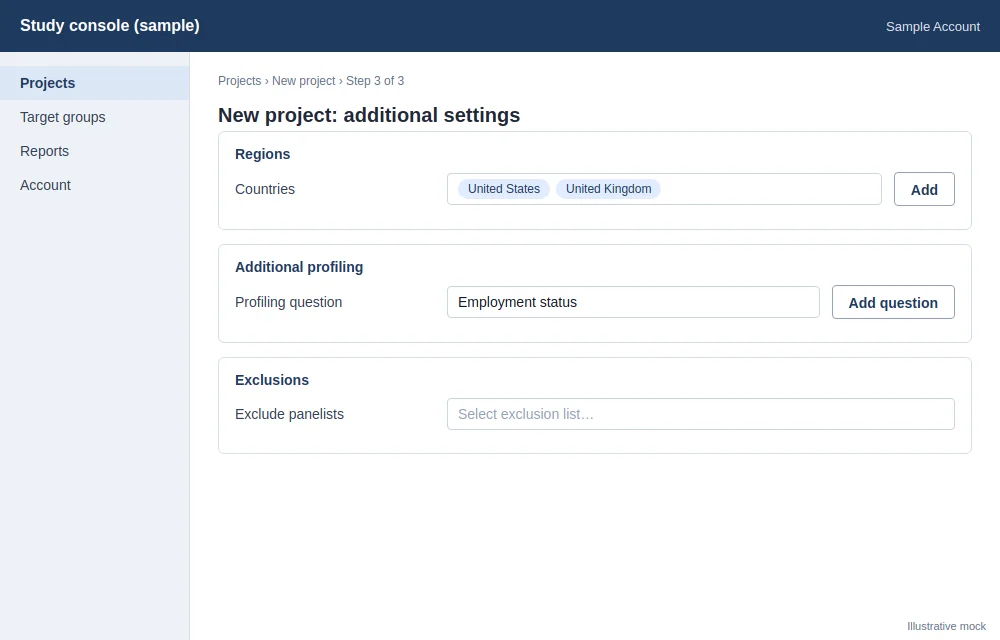
Add additional settings (i.e., regions, additional profiling, exclusions)
-
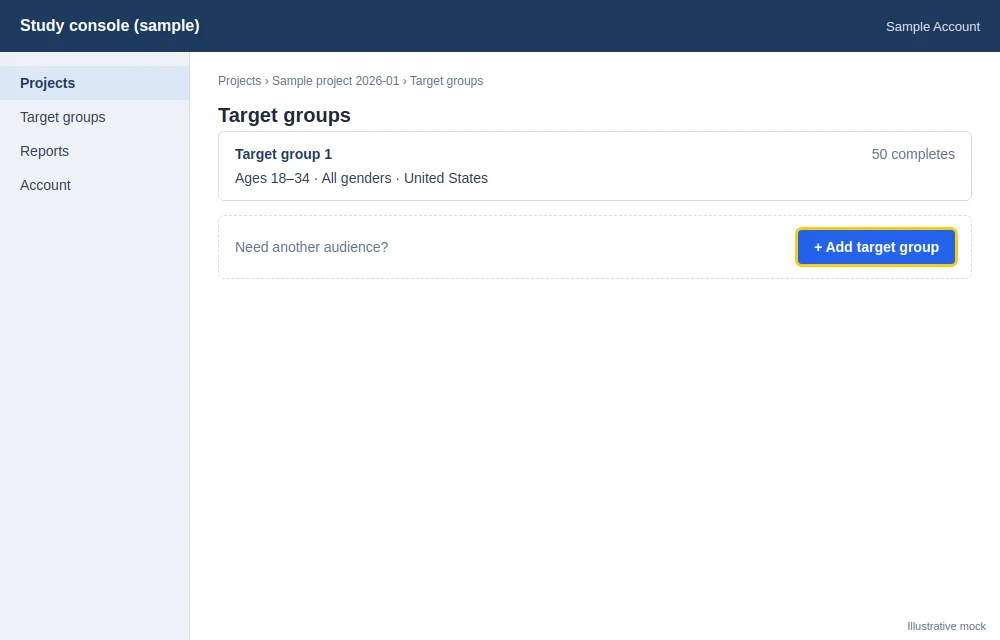
If needed, you can create more target groups:
-
Click the “Create project” button.
-
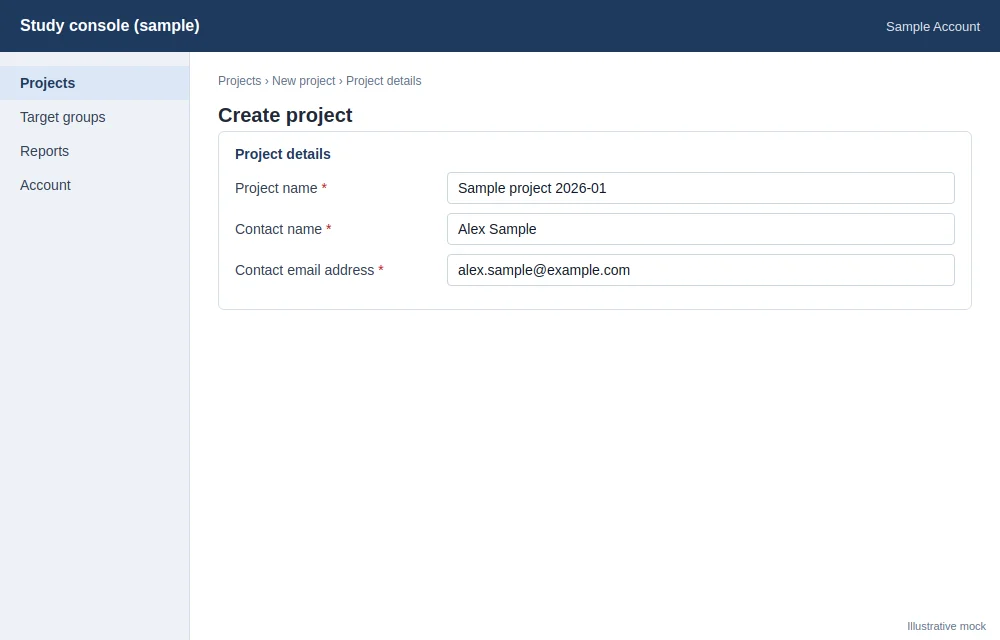
Fill in the required fields (project name, contact name, contact email address)
-
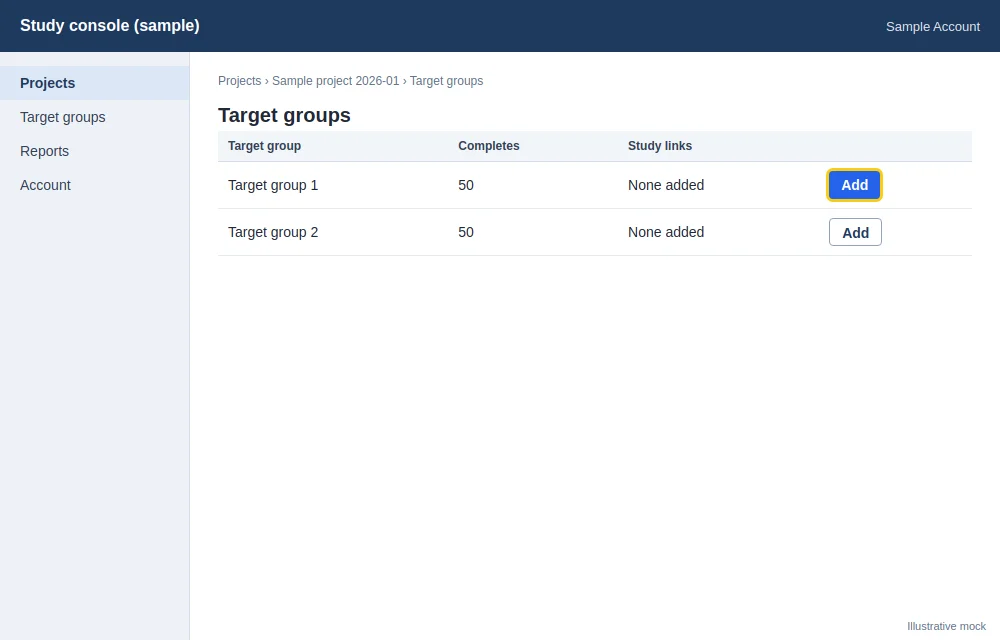
For the target group(s), click “Add” to add study links:
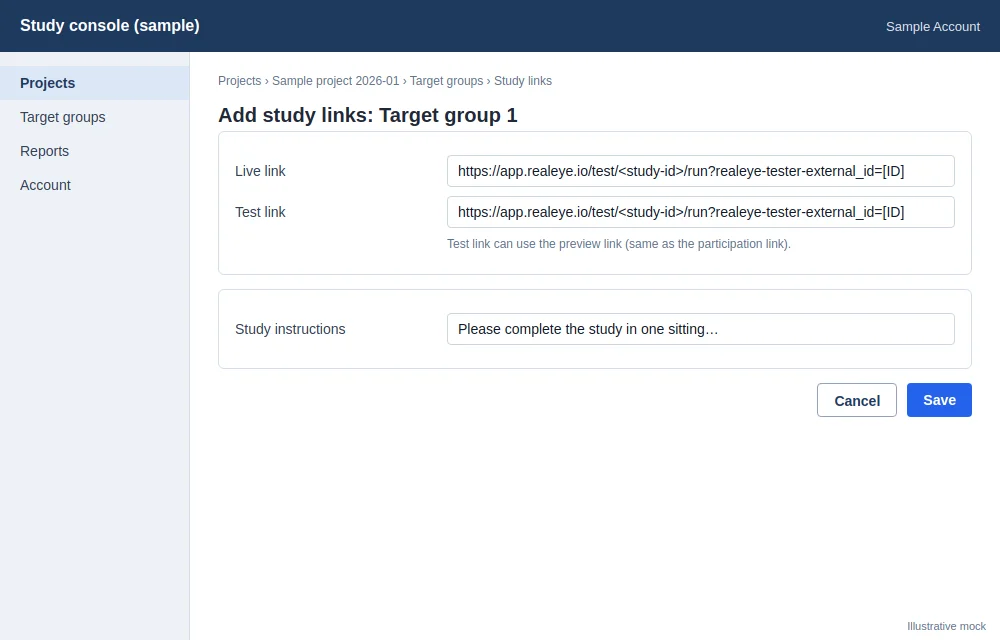
The live link is the study participation link - for the test link, you can use the preview link (it’s the same as the participation link). For both links, you have to add ?realeye-tester-external_id=[ID] to catch the respondent Id. Add study instructions (See: Ordering study participants - best practices)
-
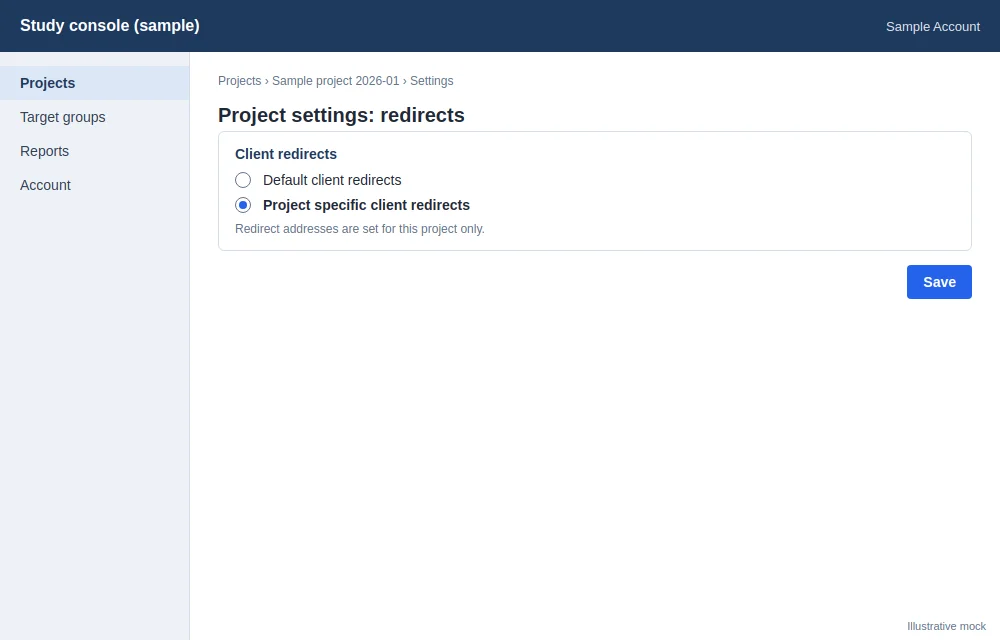
Choose “Project specific client redirects”
-
Copy the Quota full, Screenout and Complete URLs and paste them to the RealEye study (in the study setup)
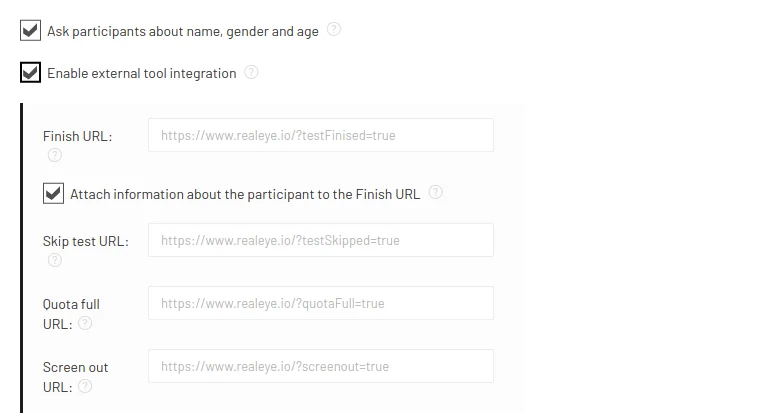
NOTE: The Cint representative may ask you to add also the “Skip test” URL. -
Check agreements and click the “Create project” button.
-
Wait for the Cint representative to contact you.